
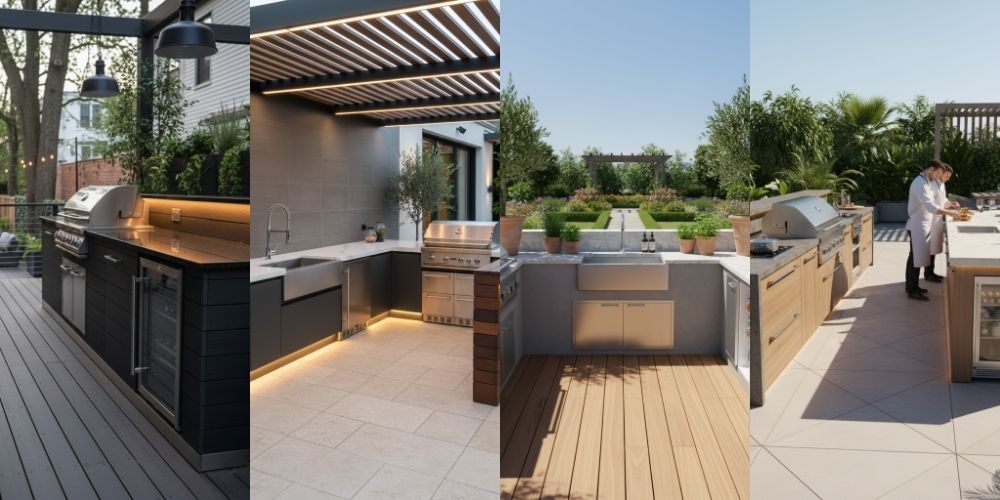
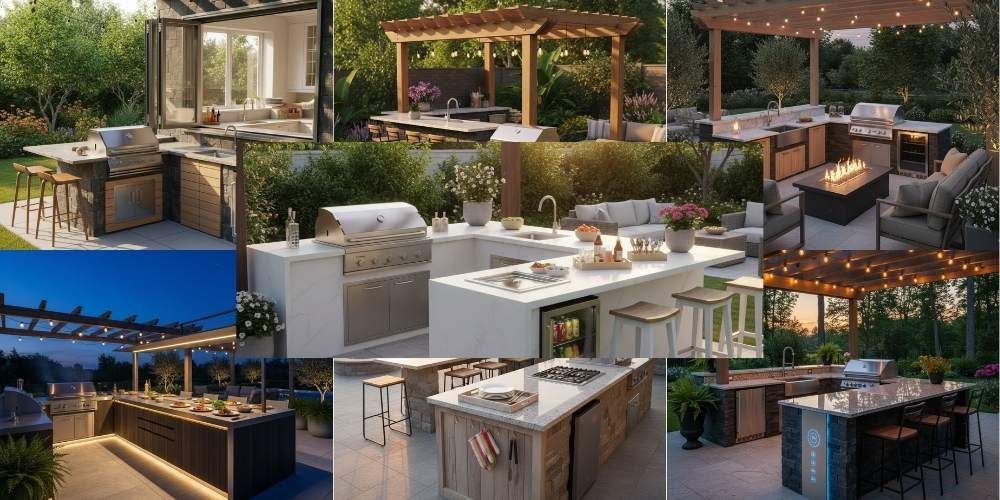
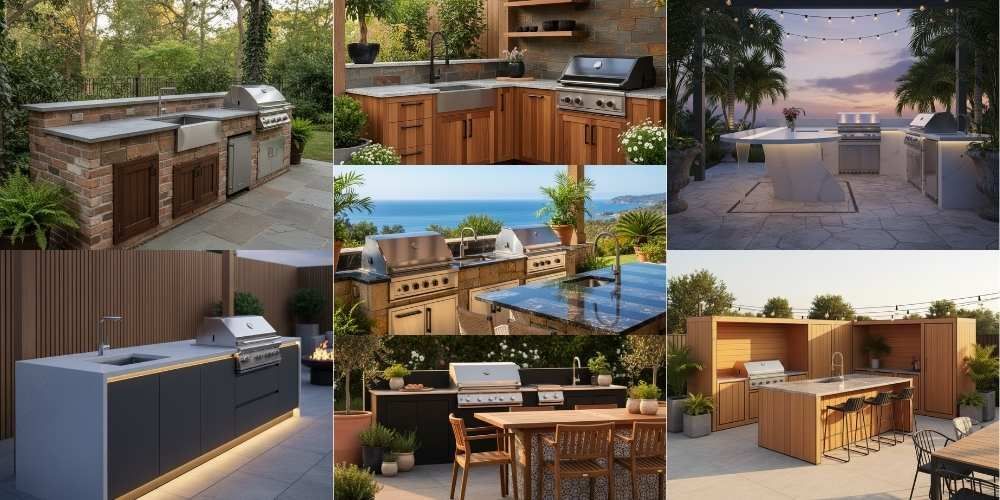
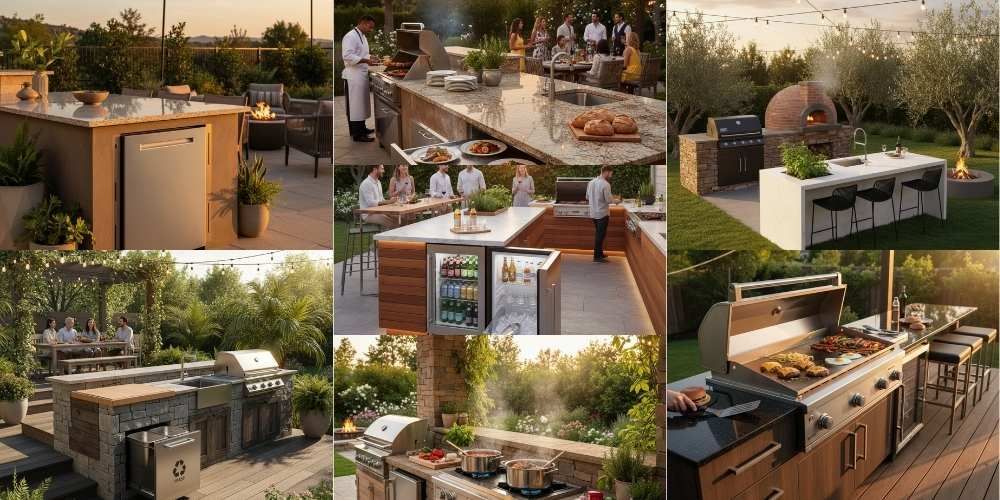
Outdoor Kitchen Ideas For Inspiration
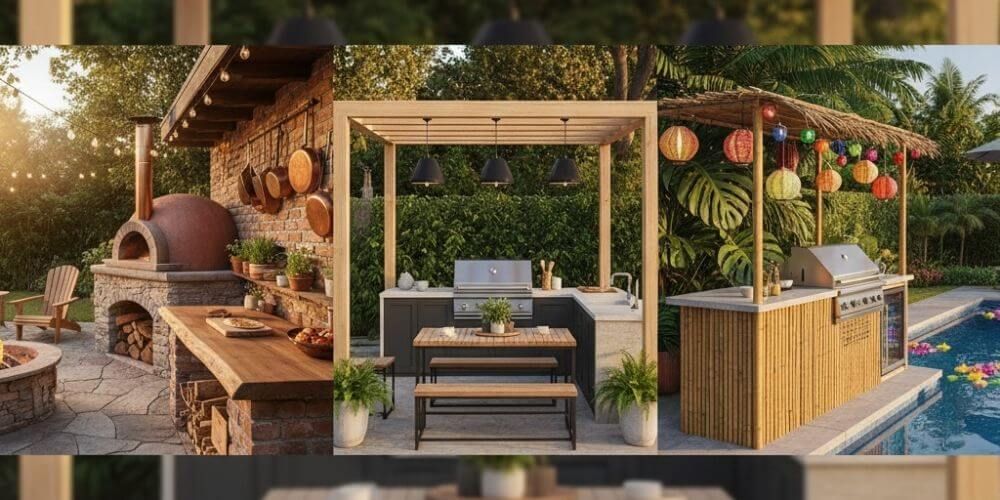
A beautiful outdoor kitchen succeeds when inspiring design meets practical execution: choose the right layout for how you cook, provide proper ventilation under covers, and specify weather‑tough materials for your climate so it performs year after year. This guide delivers more than 50 idea prompts organized by space type and style, plus pro layout tips, ventilation rules of thumb, and a permit‑ready checklist so you can go from pinning images to building with confidence in 2025.
Best Outdoor Kitchen Layout Ideas that Works
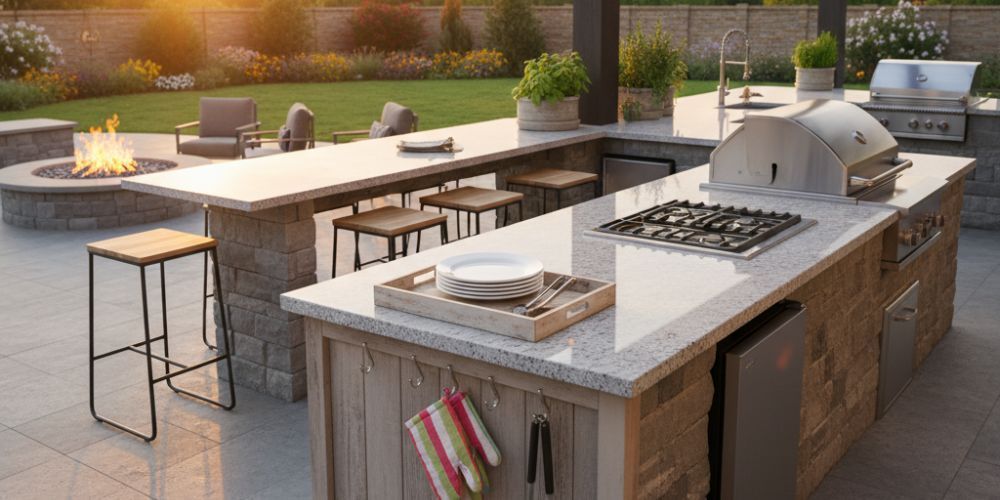
Pick a layout that matches your space and how many people typically cook at once to keep prep, hot zones, and serving flowing smoothly without crowding. Straight, L, U, and double‑galley configurations cover most patios, aim for about 36 inches of aisle space for one cook and wider paths when hosting or adding seating.
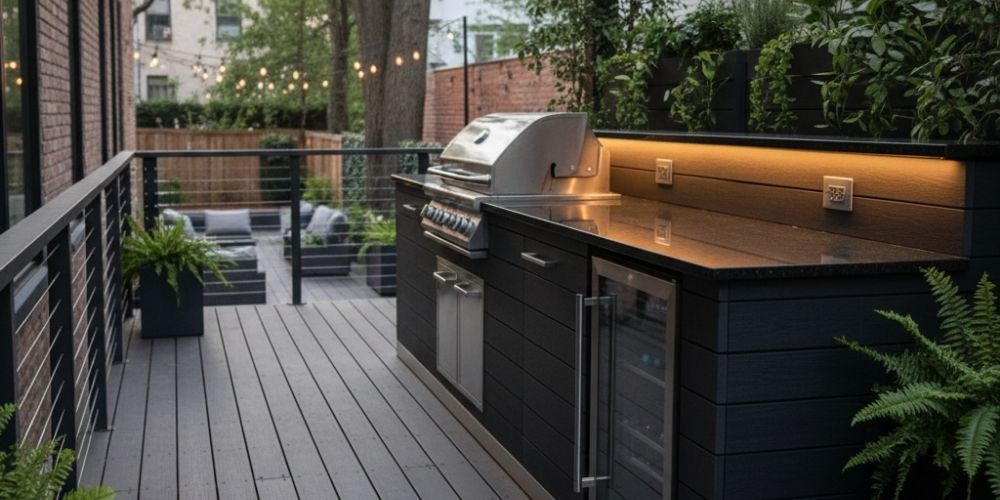
Straight run: For narrow decks, line up grill, compact fridge, and a 24–30 inch prep zone on one face to minimize footprint while staying functional.
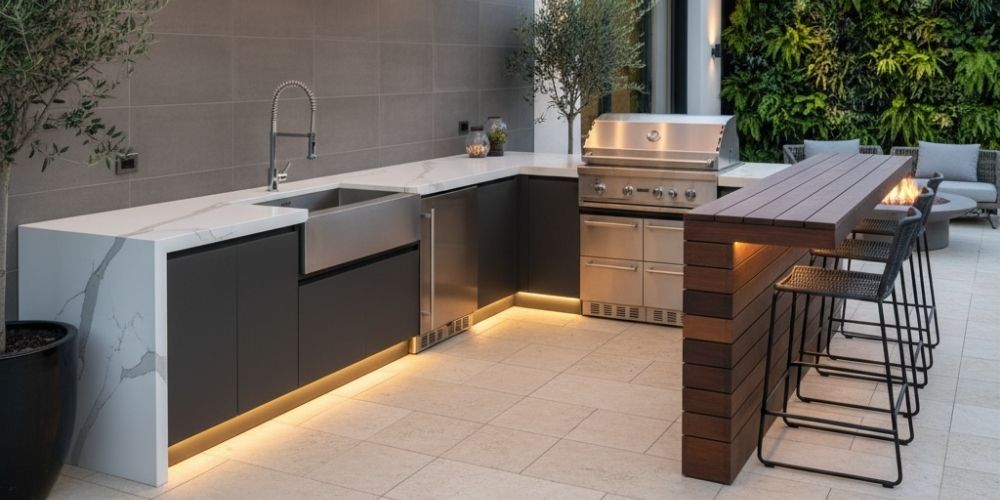
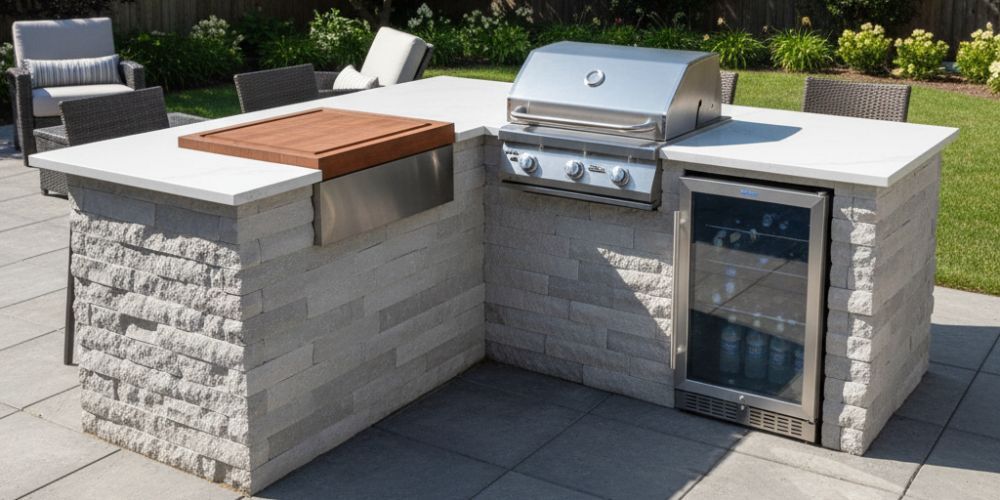
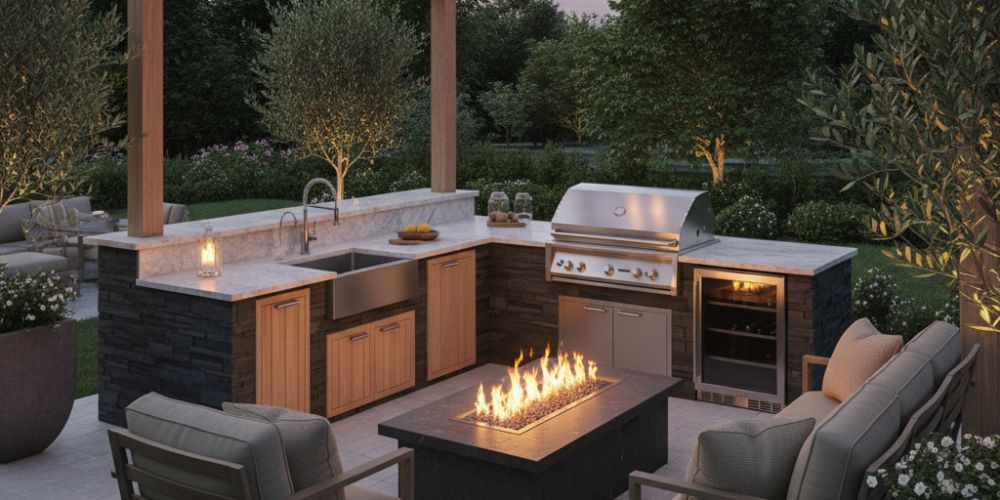
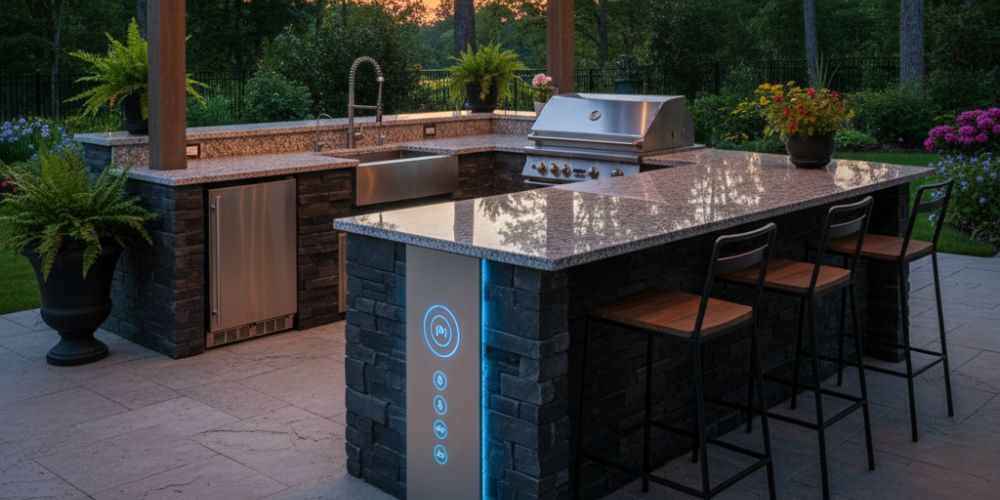
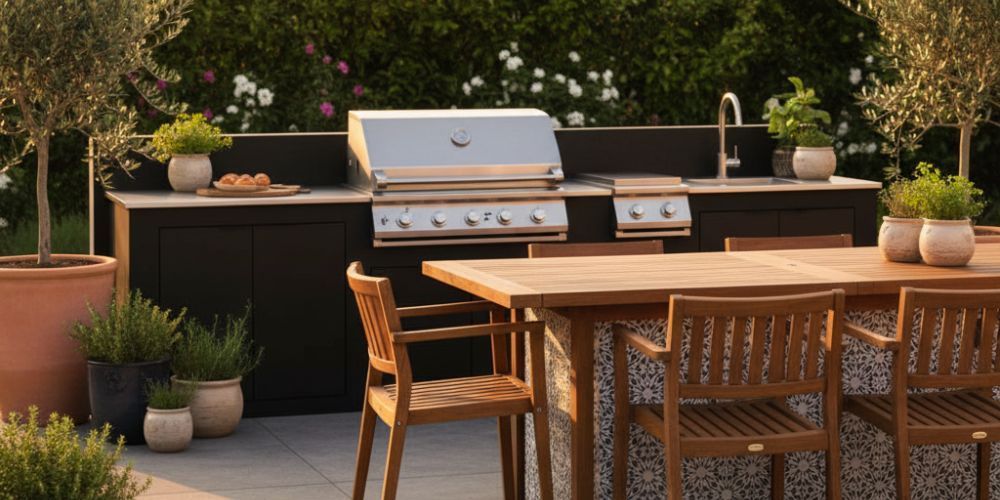
L‑shape: Adds adjacent counter depth and a natural work triangle, ideal for entertaining while keeping guests out of the hot zone corner.
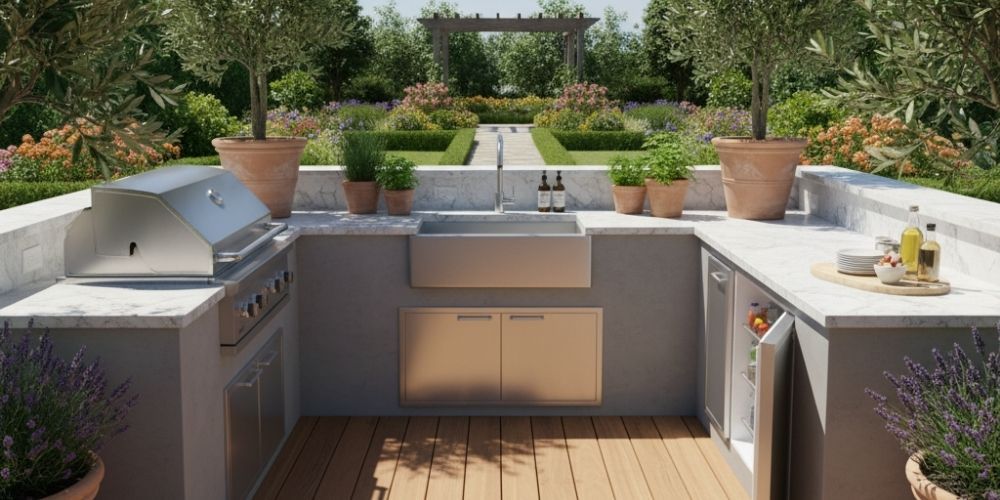
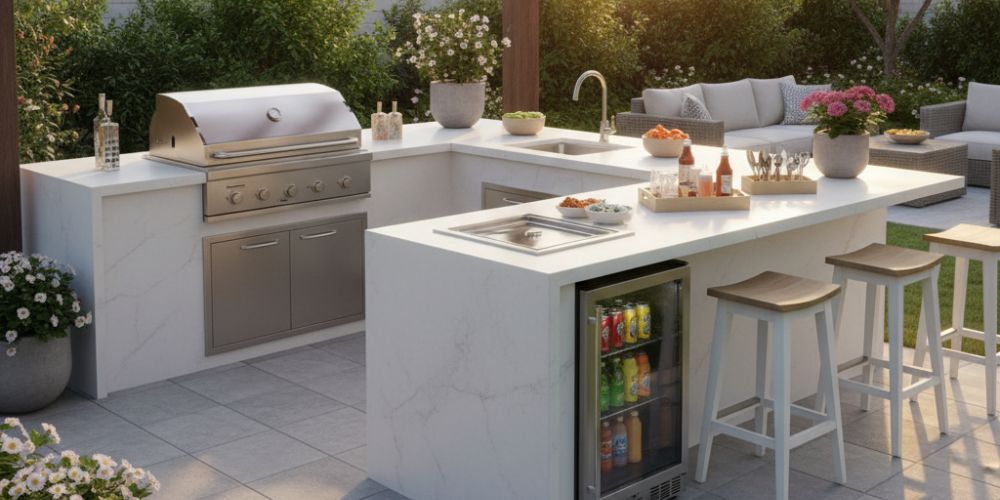
U‑shape:
Maximizes counter for plating and prep, mind appliance door swings and leave a clear entry gap to avoid bottlenecks.
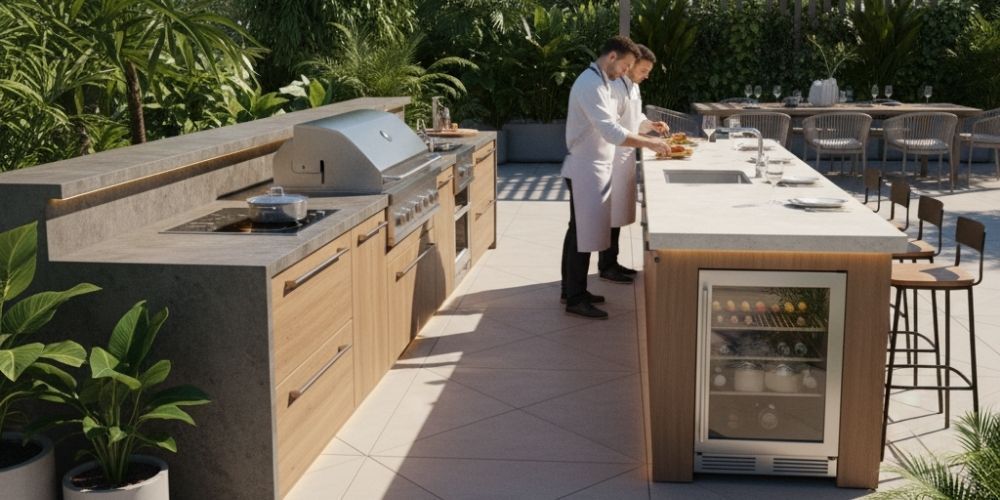
Double galley: Two parallel runs create separate cook and serve lanes, target roughly 36 inches between runs for movement and 42 inches if two cooks share the space.
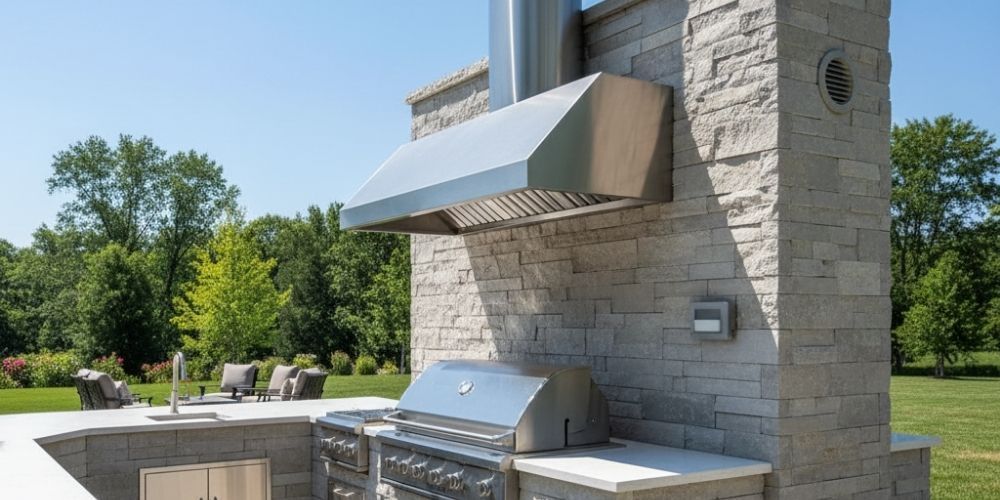
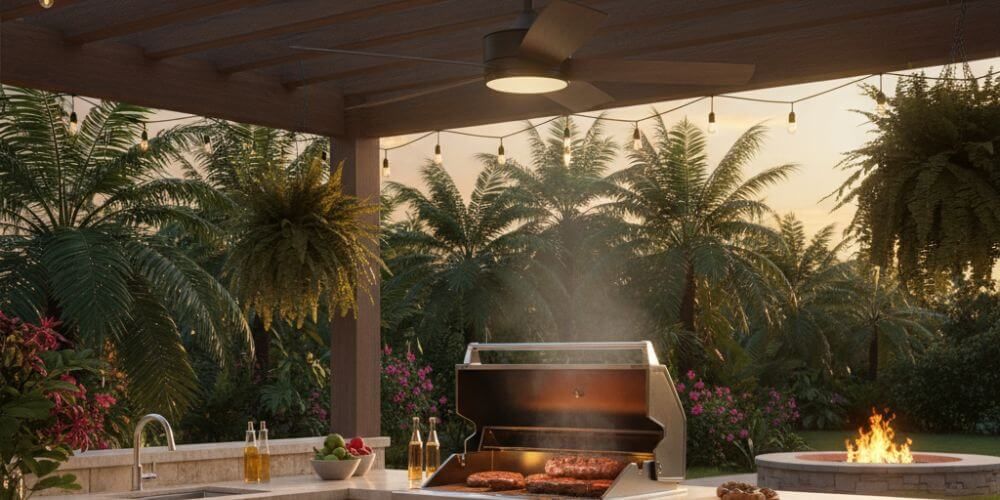
Outdoor Kitchen Ventilation and Clearances
If the grill sits under a roof, pergola, or any partially enclosed cover, treat it like an enclosure: plan capture, clearances to combustibles, and base vents to disperse gas safely. Size the hood wider than the grill by about 4–8 inches per side where possible, and target at least ~1200 CFM for strong capture in outdoor wind conditions, mounted roughly 36–42 inches above the cooking surface for effective smoke collection.
Clearance to combustibles: Follow appliance specs and add noncombustible surrounds near high‑heat zones to reduce fire risk and staining over time.
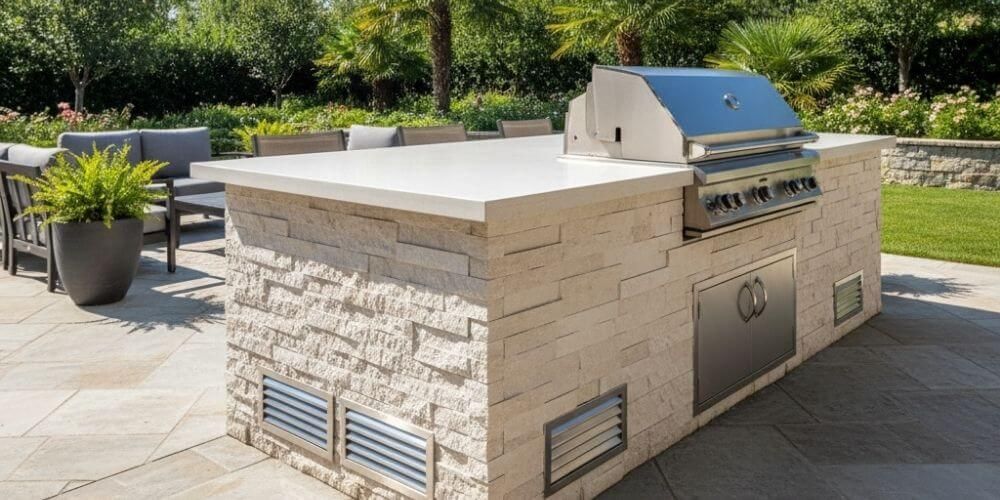
Island vent panels: Install low‑level vent panels on built‑in islands, especially for gas grills, to prevent gas buildup and aid airflow within the cabinet base.
Ducting and termination: Use exterior‑rated, smooth duct runs with weather‑sealed terminations and avoid long, restrictive paths that reduce CFM performance.
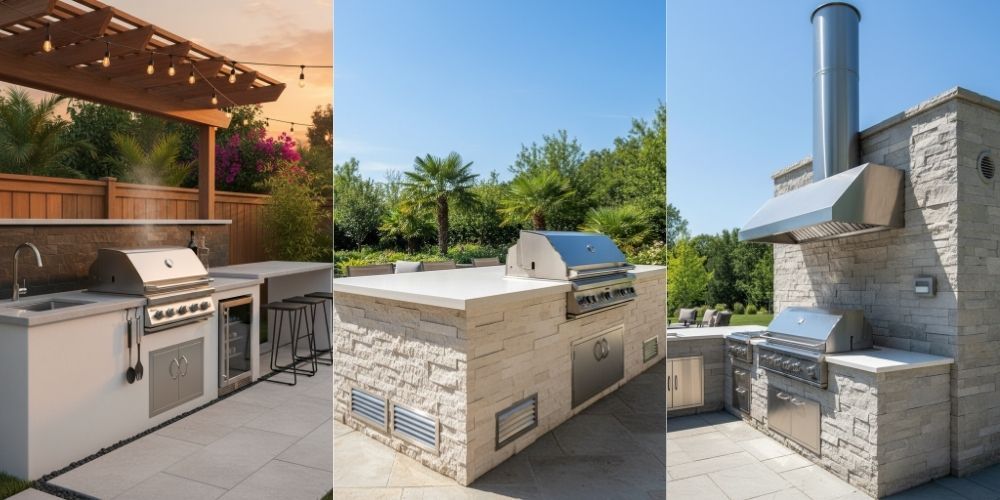
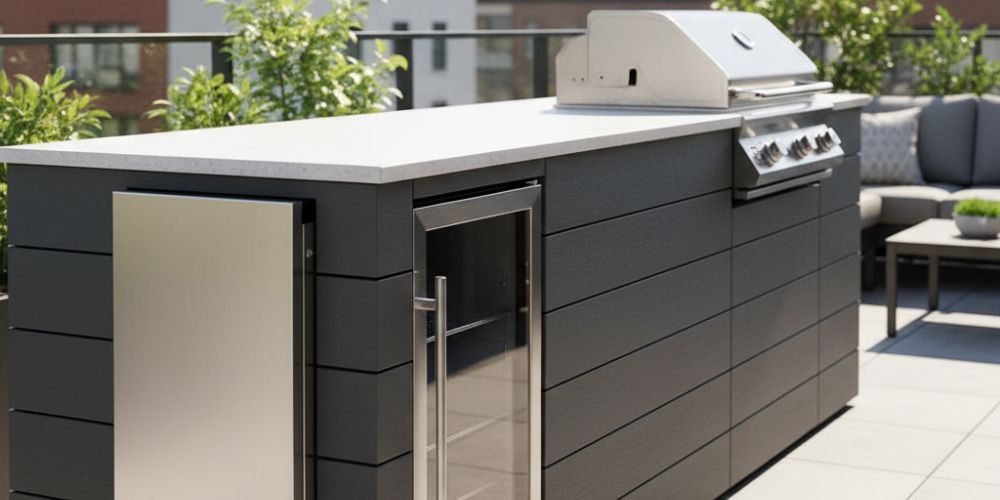
Weather‑Proof Materials For Outdoor Kitchens

Choose structures and finishes that shrug off sun, rain, and freeze‑thaw to keep your kitchen looking great with minimal upkeep for seasons to come. Noncombustible bases with stainless, masonry, or powder‑coated aluminum framing paired with UV‑stable counters and splash‑resistant facades extend longevity outdoors.
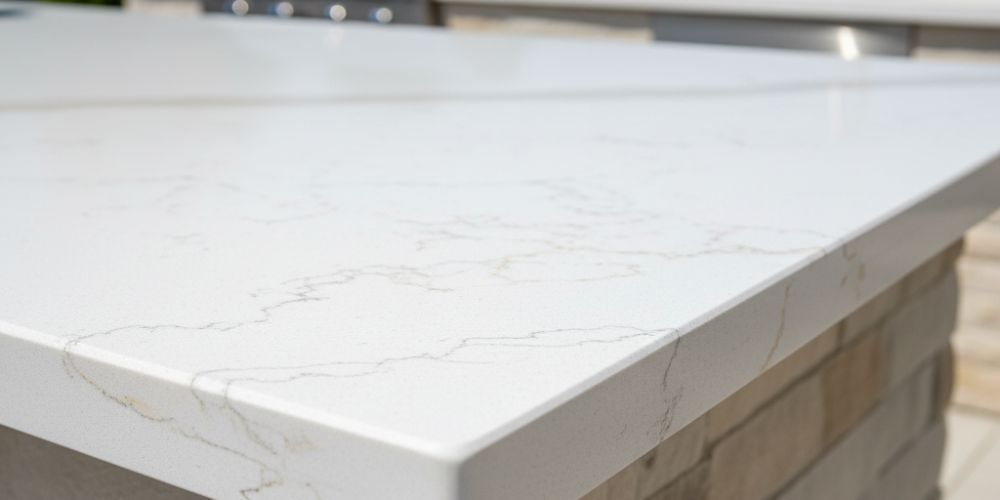
Counters: Favor dense stone or engineered surfaces rated for UV and temperature swings, specify eased edges to shed water and reduce chips.
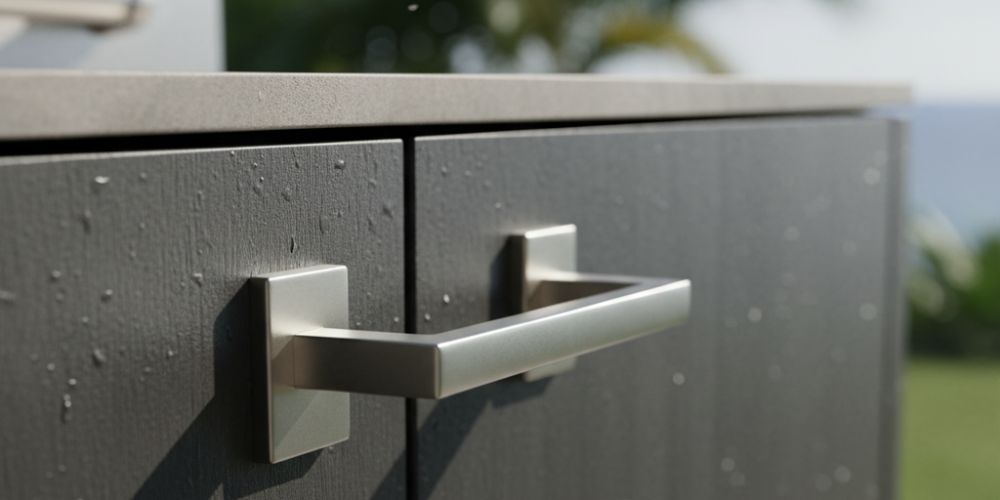
Hardware: Pick marine‑grade fasteners and outdoor‑rated hinges/slides to resist corrosion, especially in coastal climates with salt exposure.
Flooring: Ensure slip‑resistant approaches near pools and wet zones and allow for drainage away from appliances and seating.
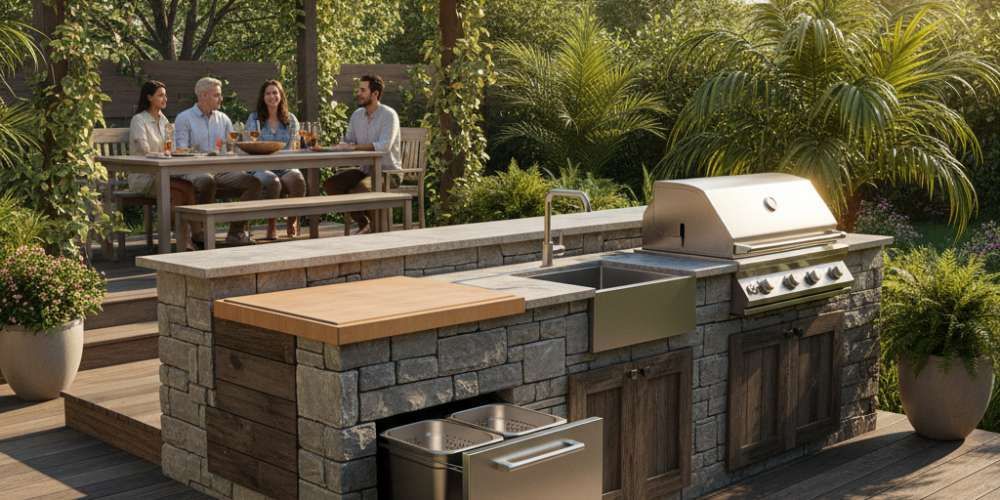
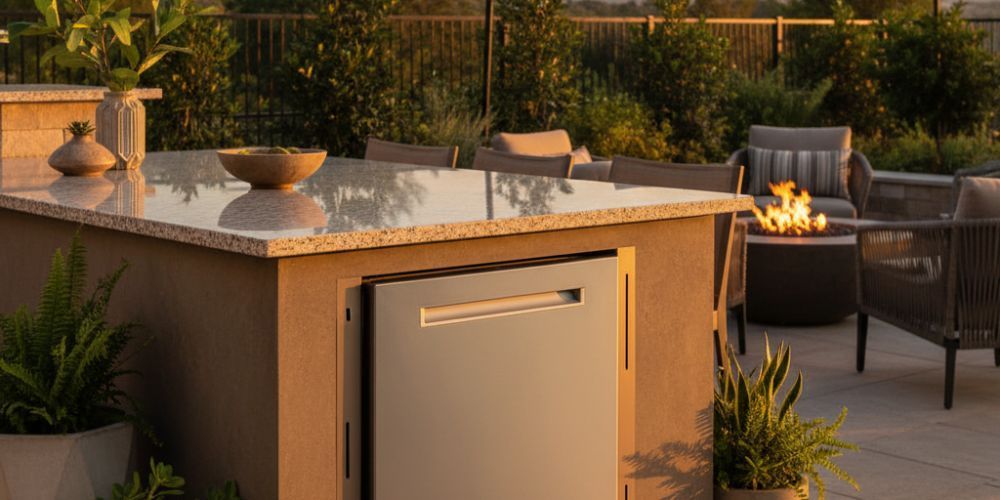
Small Space Outdoor Kitchen Ideas
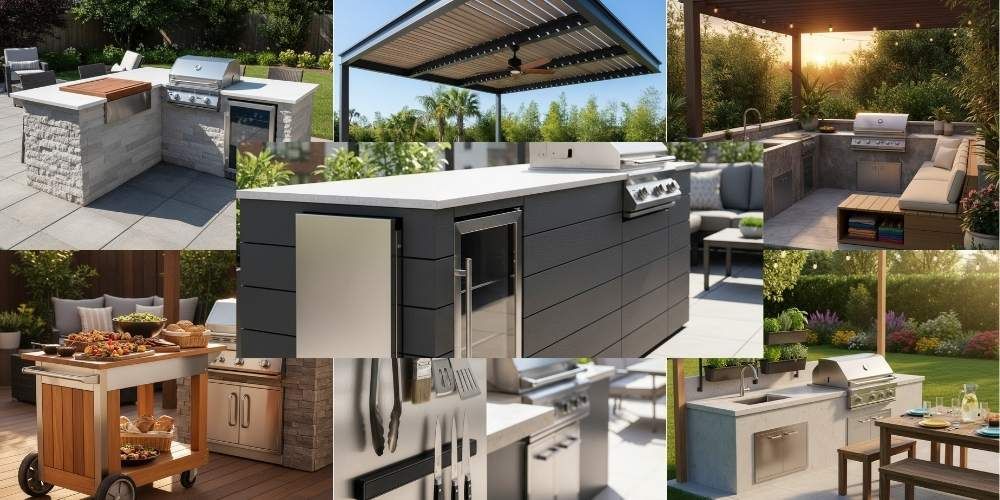
Compact layouts thrive with multiuse components and smart storage so nothing feels cramped while cooking or serving guests. Use a 24–30 inch grill, undercounter drawer fridge, and fold‑down shelves to maximize prep without permanent bulk.
Straight run with folding side shelf and a narrow drawer fridge to save circulation space.
Compact L with corner prep board over a drop‑in sink to reclaim counter during service.
Rolling cart island as a movable landing zone for plating and buffet duty on tight patios.
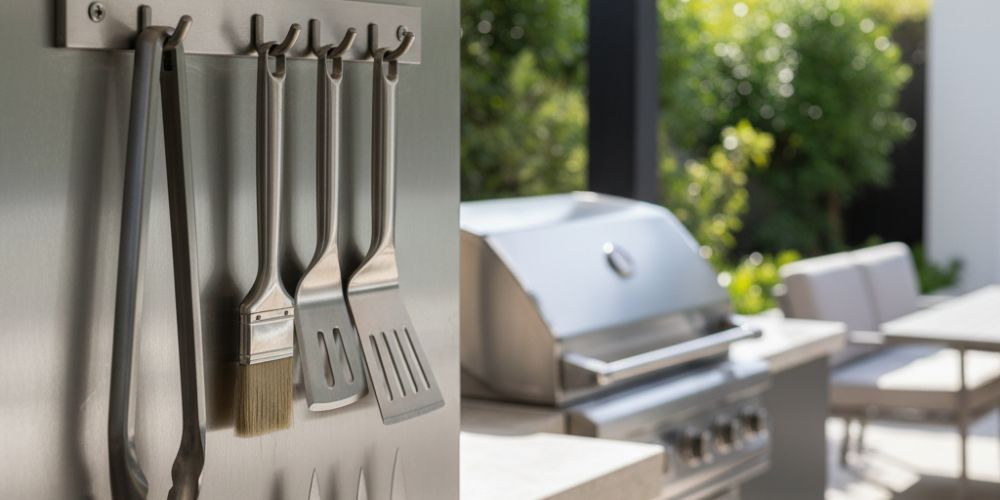
Vertical storage wall with tool hooks and a magnetic knife strip to free up drawers.
Slim pergola for shade that doesn’t enclose smoke, add a fan for comfort without trapping heat.
Bench seating with storage for covers and cushions to declutter when not in use.
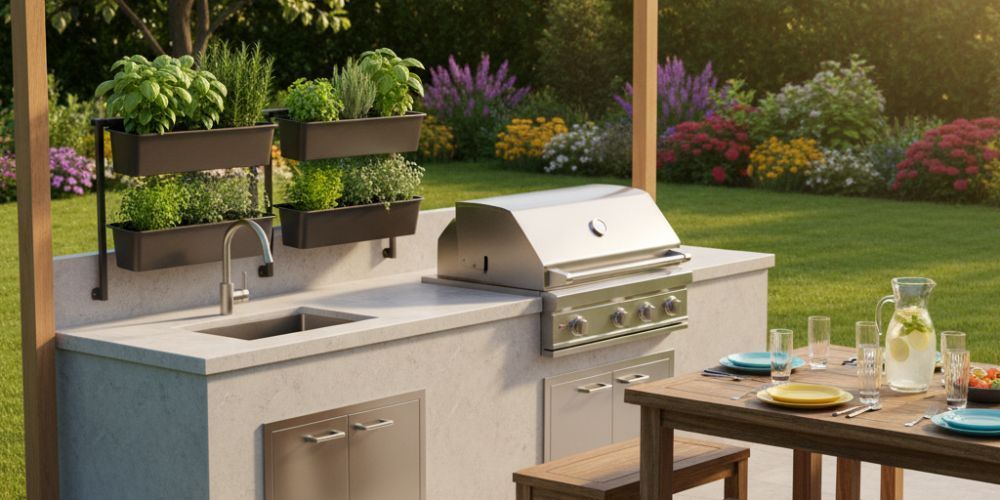
Rail‑mounted herb planters to keep garnishes handy without using counter space.
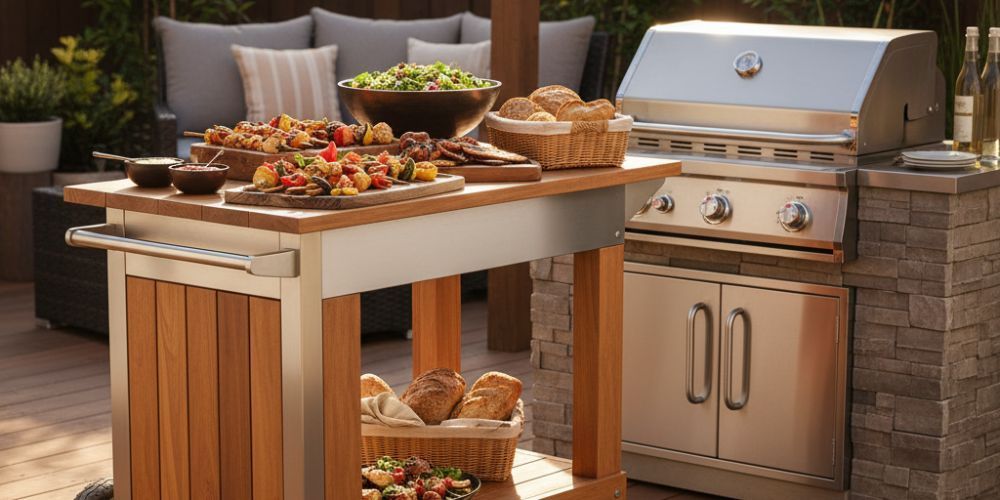
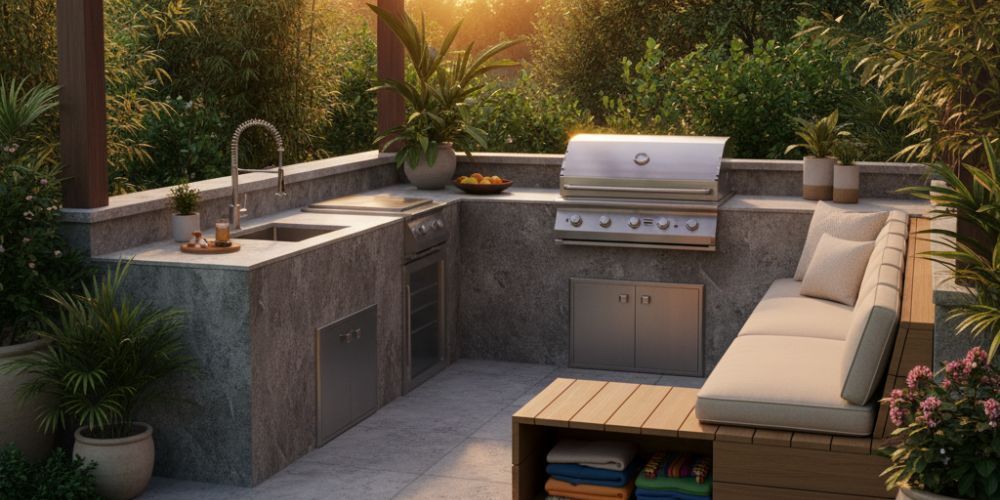
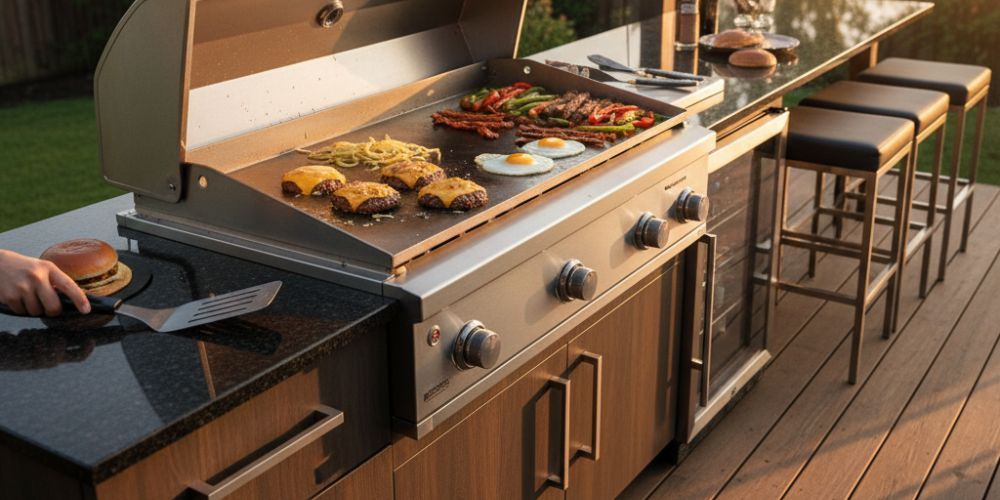
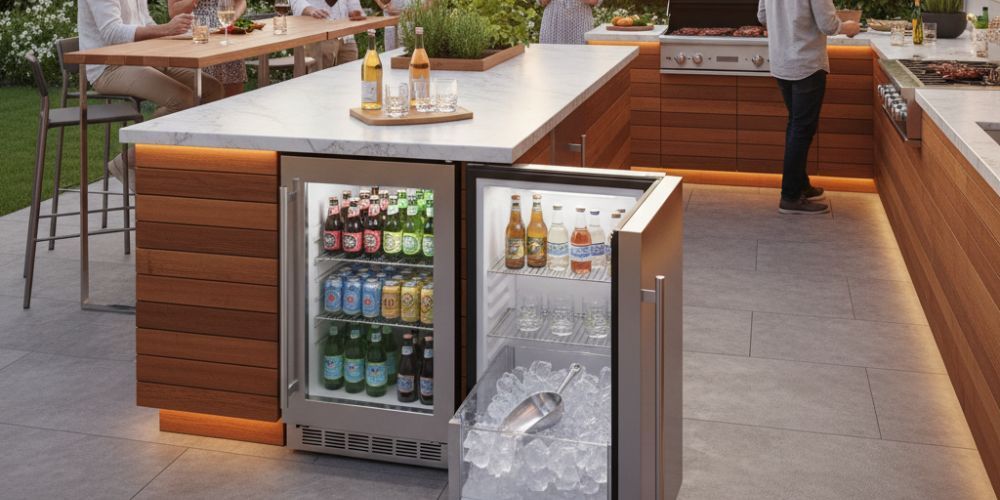
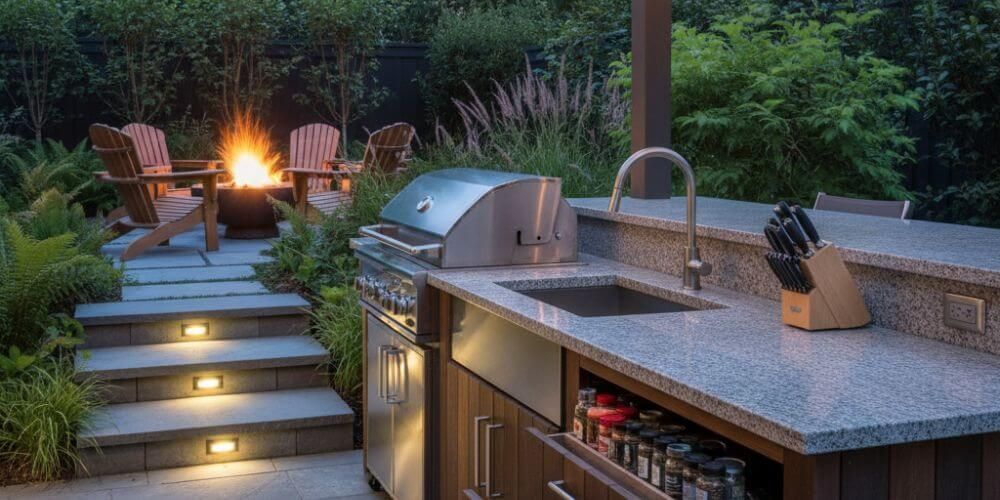
Outdoor Kitchen Ideas For Family Entertainment
Design for guests to gather while cooks keep a safe, efficient workflow by separating seating from the hot zone and providing clear serve‑throughs. Double‑galley lanes or a split‑level bar let friends perch nearby without stepping into the grill’s splash and smoke.
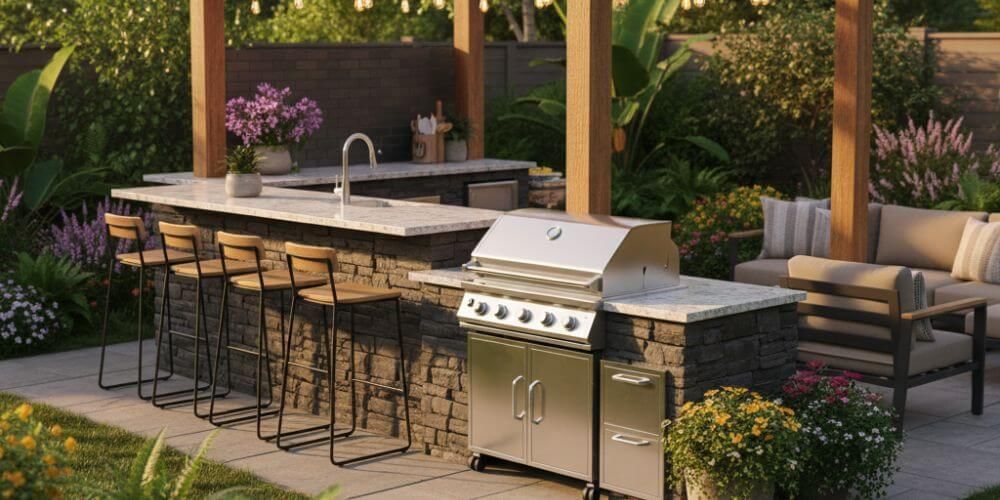
Split‑level bar behind the grill adds a heat buffer and casual seating for three to five guests.
Beverage center with ice drawer and dedicated prep so kids and guests can self‑serve away from hot work.
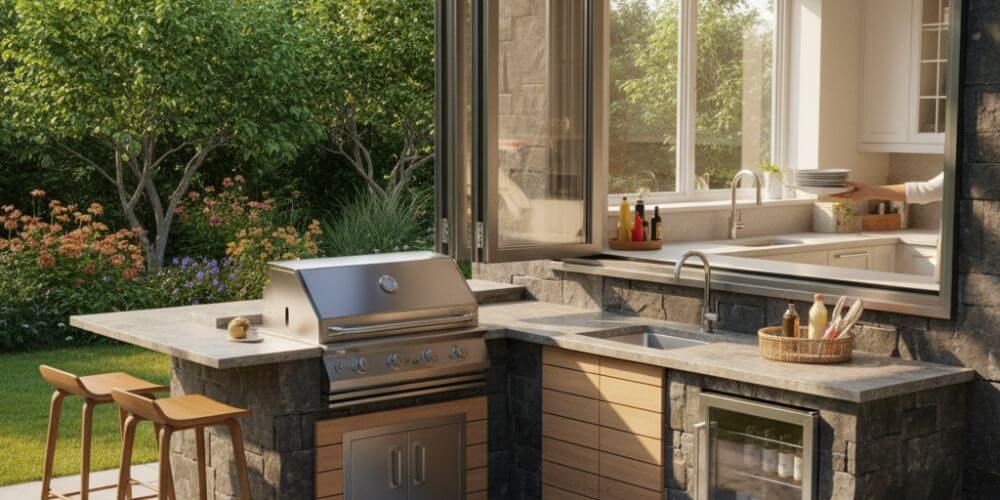
Pass‑through window from indoor kitchen for quick restocking of plates and condiments.
Adjacent lounge with a fire feature to extend evenings and seasonal use beyond summer.
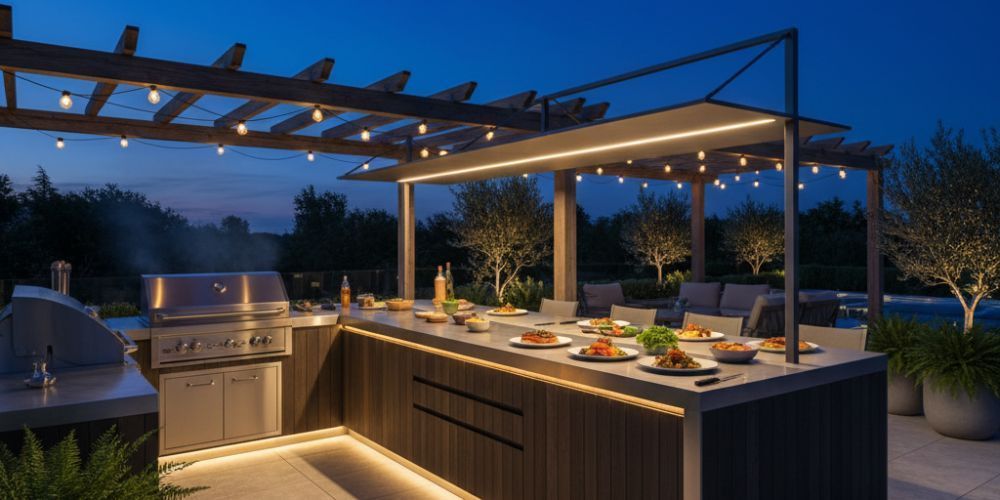
Covered plating station with task lighting so service stays efficient after sunset.
Drop‑zone shelf near the entry for trays and mitts to reduce clutter around the cooktop.
Speaker and lighting controls at the bar side to keep cooks’ hands free from distractions.
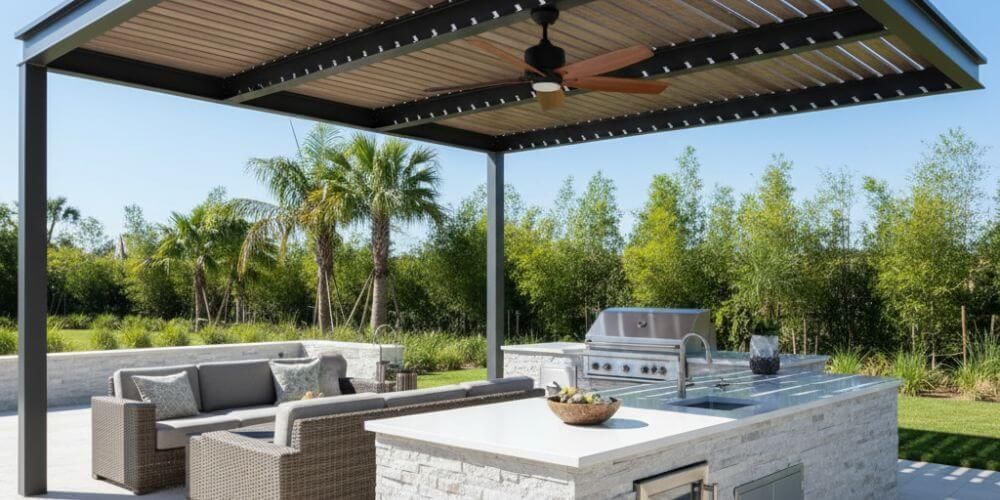
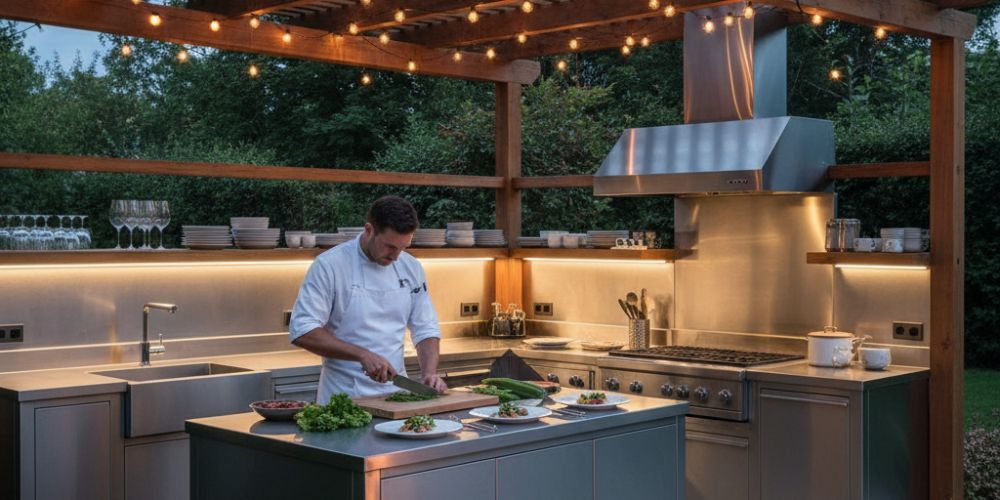
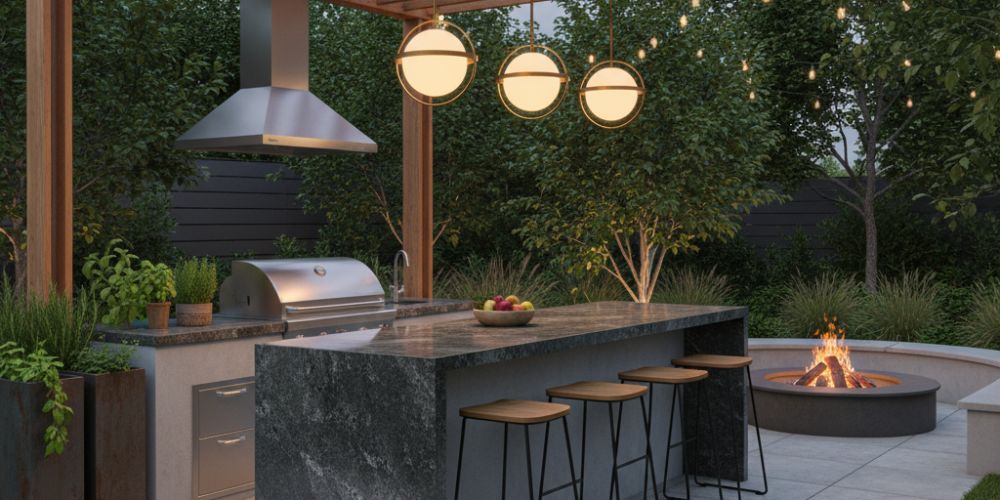
Covered and Enclosed Outdoor Kitchen Ideas
When adding roofs or pergolas, elevate ventilation and heat management details so smoke doesn’t accumulate and finishes stay clean. Wider, higher‑CFM hoods with smooth, short duct runs and noncombustible back panels keep air moving and protect overhead structures.
- Hood 4–8 inches wider than grill, mounted 36–42 inches above grate for capture.
- Noncombustible cladding behind and beside the grill to reduce heat transfer to posts and beams.
- Translucent roof panels or skylight slots to daylight the station without trapping heat.
- Side baffles or wind screens that don’t fully enclose the space, maintaining through‑flow.
- Base vent panels on both sides of the island for cross‑venting inside cabinetry.
- Gable‑end opening or high clerestory vent to release hot air under solid covers.
- Fan on a separate switch for comfort airflow that won’t interfere with hood capture.
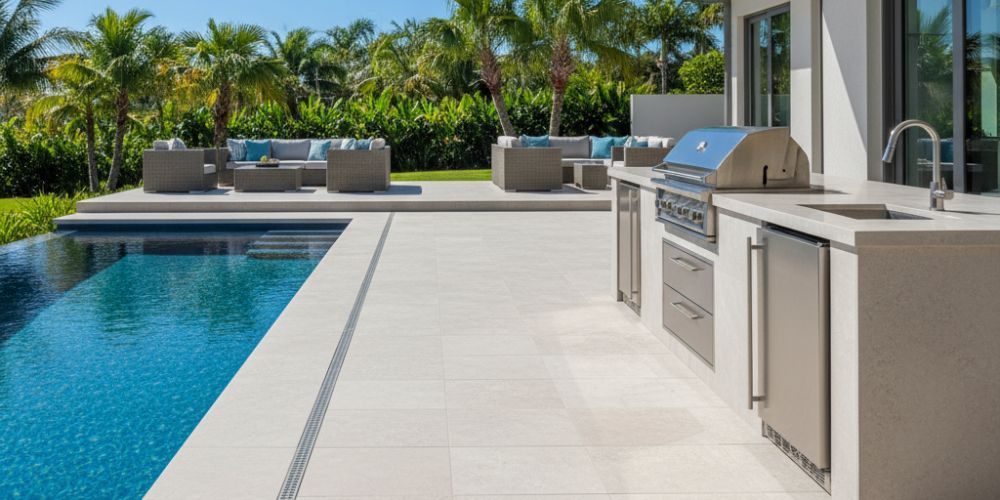
Poolside and Coastal
Near water and salt air, prioritize corrosion resistance, safety under bare feet, and storage that seals against spray and humidity to protect gear. Choose marine‑grade metals, sealed cabinets, and non‑slip decking, plus shade aligned to prevailing breezes for comfort during peak sun.
- Raised bar as a splash buffer with wipeable surfaces facing the pool.
- Outdoor‑rated fridge on a shaded wall away from direct heat to maintain efficiency.
- Integrated towel cubbies and hooks to keep wet items off counters and seating.
- Hose bib and floor drain nearby for quick washdowns after parties.
- Powder‑coated aluminum or 316 stainless for hardware and cabinet frames in salt zones.
- Canopy or pergola angled to breeze direction to vent smoke away from swimmers.
- Low‑glare, textured pavers around approach paths for traction when wet.
Outdoor Kitchen Material Ideas By Style
Marry durability with the look you love by choosing finishes proven to handle UV, heat, and moisture while delivering the aesthetic you want long term. Blend stone, brick, concrete, or metal accents to target classic, modern, or rustic‑modern styles without compromising maintenance needs.
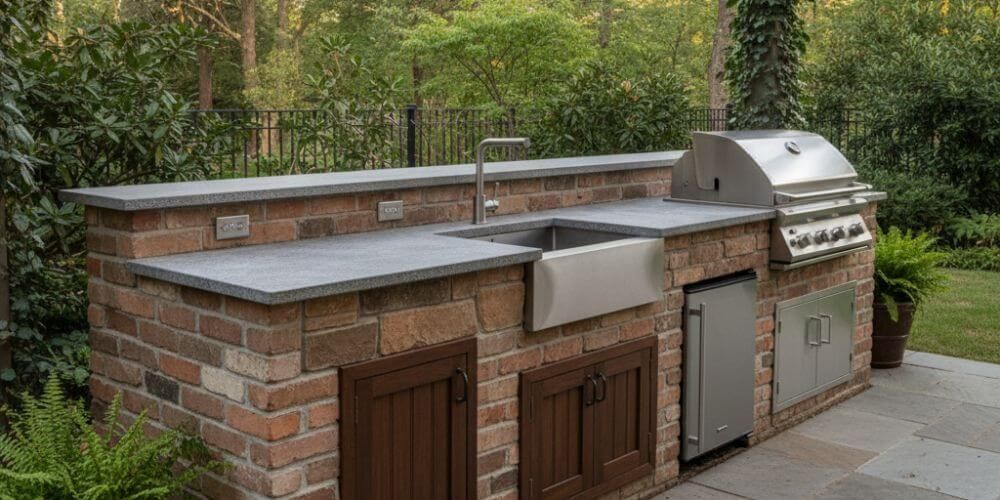
Classic stone/brick face with honed stone counters for timeless appeal that hides wear.
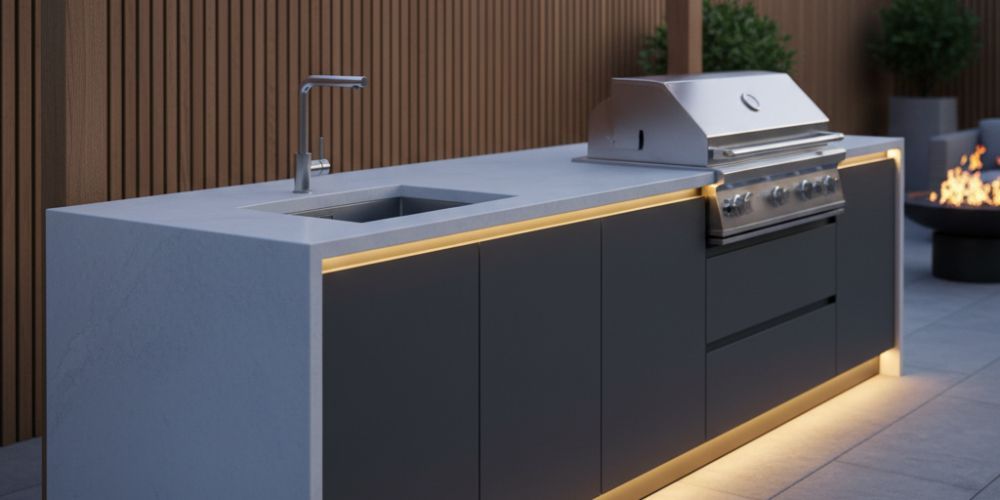
Sleek concrete or sintered stone tops with powder‑coated doors for modern lines.
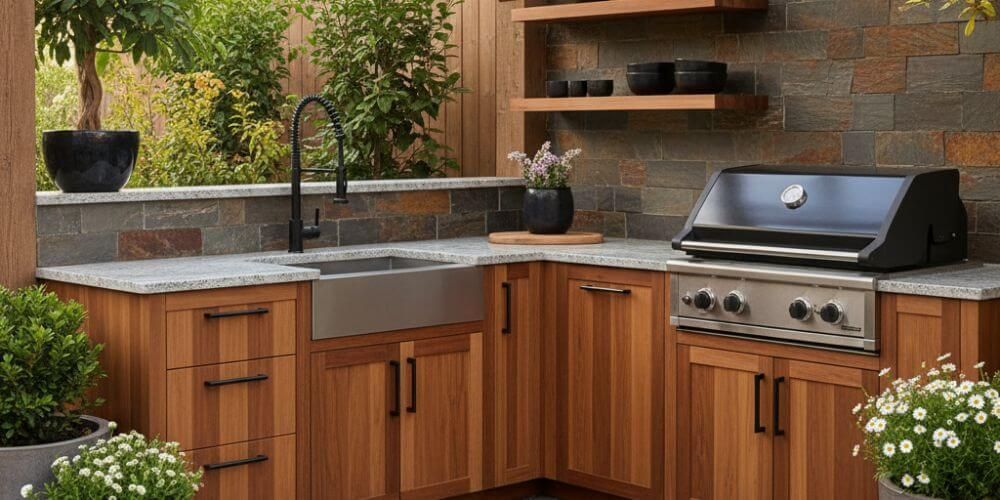
Rustic‑modern include warm wood tones on non‑hot faces with matte black fixtures and stone backsplash.

Mixed metals like stainless appliances with black hardware to ground bright outdoor light.
Patterned tile on the guest side, keep the grill surround noncombustible and easy‑clean.
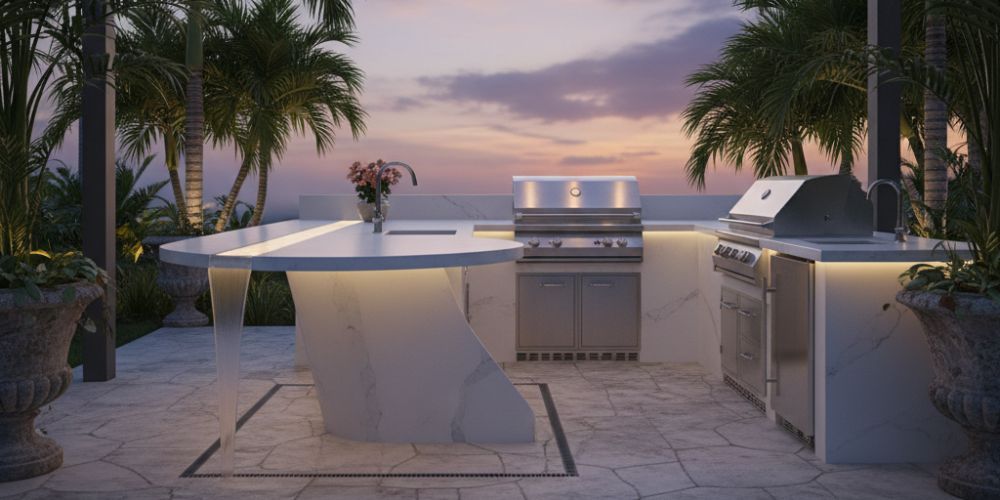
Waterfall edge on an island bar for a furniture‑like statement that also sheds rain.
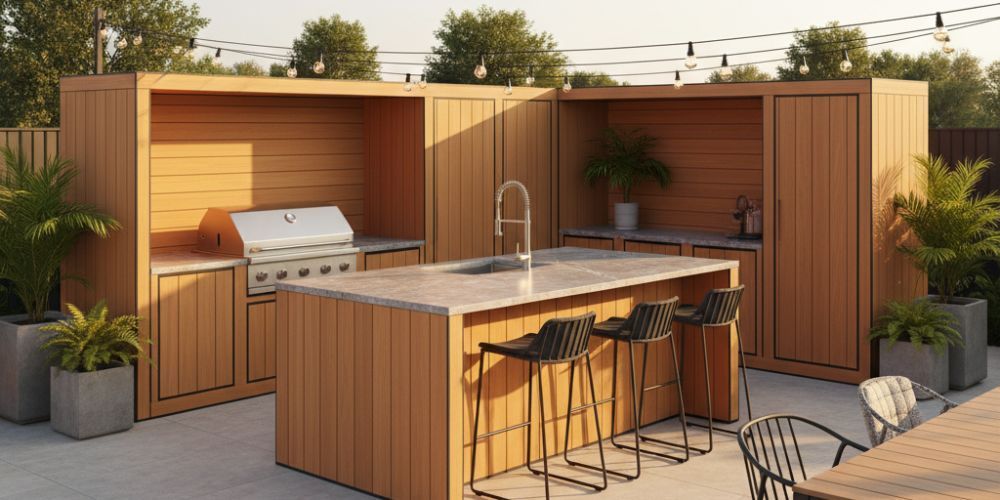
UV‑stable composite cladding for low‑maintenance fascia where heat is minimal.
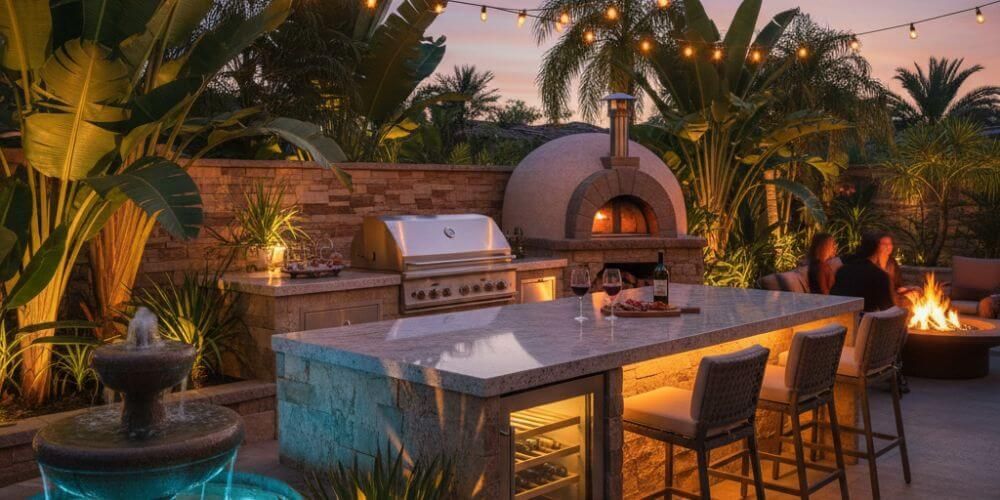
Appliance Combos That Shine in Outdoor Kitchens
Curate zones so cooks can diversify menus while keeping safety and service efficient in crowded gatherings or long weekends. Pair a primary grill with a flat‑top or pizza oven and add a beverage center for traffic control at parties.
Grill + flat‑top for smash burgers, fajitas, and breakfast cooks without swapping grates.
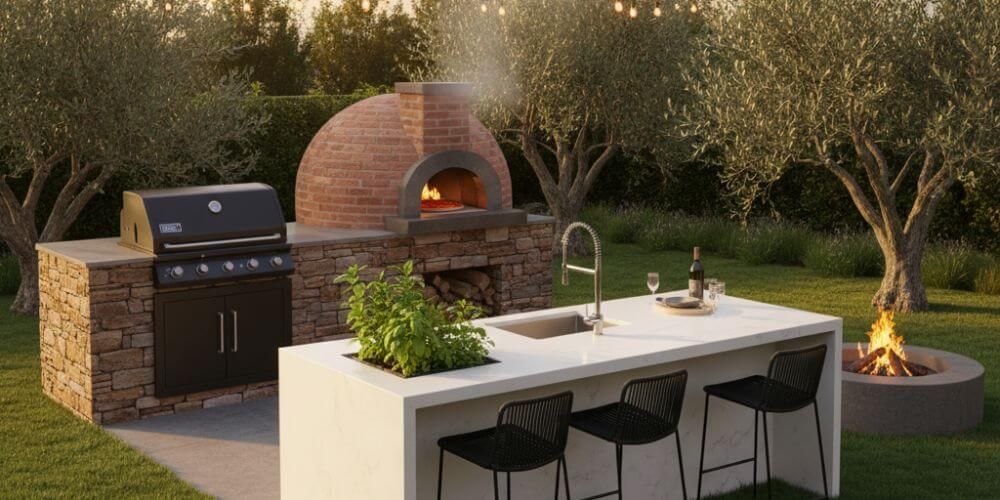
Grill + pizza oven for high‑heat bakes and bread with thermal mass away from the main prep.

Side burner set in a wind‑sheltered corner for sauces and stocks.
Beverage fridge + ice drawer on the guest side to draw traffic away from the cook.

Warming drawer near plating for batch service without overcooking.
Pull‑out trash/recycling next to prep so the cook stays put.
Outdoor dishwasher only where covers and drainage protect against weather ingress.
Outdoor Kitchen Ideas For Lighting and Comfort

Well‑placed task and ambient lighting, plus heat and shade controls, convert a pretty build into a space used morning to night across seasons. Keep lighting zoned and dimmable and separate comfort fans from hood controls to avoid capture conflicts.
LED task strips under shelves and hoods for glare‑free cutting and plating.
Dimmable pendants over the bar with shielded bulbs to reduce insect attraction.
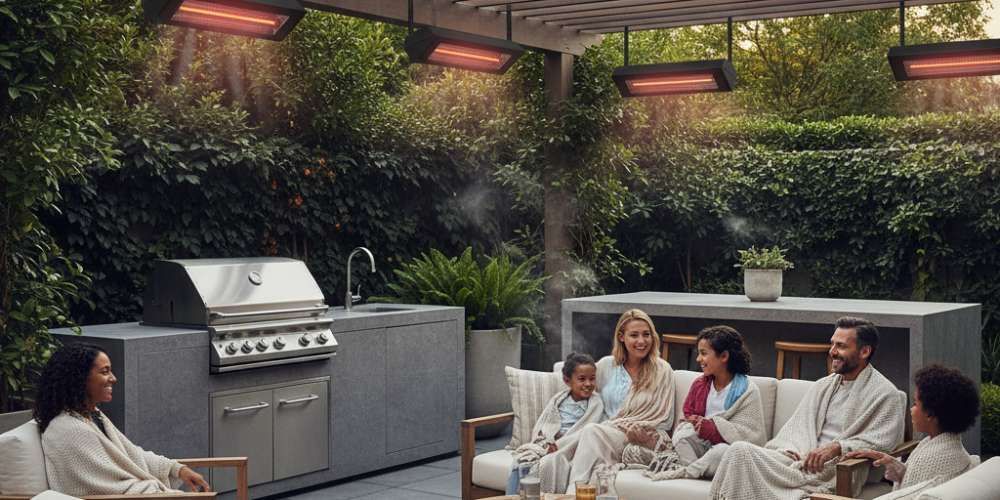
Infrared heaters aimed at seating rather than the grill station for comfort.
Ceiling fan on low to move air when the hood is off, switch off during high‑smoke searing.
Path lighting to steps and storage to reduce trips after dark.

Shade sail or adjustable louvers to modulate midday sun without sealing the space.
Accent lights on plantings or water features for evening atmosphere.
Build‑Ready Planning Checklist
Lock down these essentials early to avoid rework, cost surprises, and inspection delays during your project timeline from demo to first cookout. Use this as a printable or save‑to‑phone list during design meetings and contractor walks.
- Site plan: Map sun path, wind, neighbor lines, door swings, and smoke direction to align grill and seating.
- Utilities: Plan trenching for gas, power, water, and drain, provide shutoffs and GFCI as required.
- Permits and inspections:
Confirm local requirements for gas, electrical, plumbing, and structure, schedule inspections alongside utility rough‑ins.
- Clearances:
Verify hood width, CFM, and 36–42 inch mounting height, add island vent panels and noncombustible surrounds at grills.
- Materials:
Specify UV‑rated counters, corrosion‑resistant hardware, and slip‑resistant surfaces near water.
- Workflow:
Reserve 24–36 inches of uninterrupted prep space beside the grill and keep cold storage out of the hot zone.
Winterization: Provide access to shutoffs and low‑point drains, choose appliance covers and storage for cushions and tools.
2025 Trends To Copy
Expect layered stone with matte black metals, double‑island entertaining layouts, and multi‑appliance cooking suites to headline this year’s projects, delivering both style and throughput for gatherings. These trends photograph beautifully while solving real‑world hosting challenges like crowd flow and menu variety during peak seasons.
Ready to turn ideas into a plan? Use the checklist above to scope utilities and clearances, then pick a layout that matches how you cook so your outdoor kitchen looks great and works even better all year.
Wrapping Up
Turning inspiration into a finished outdoor kitchen comes down to three pillars: the right layout for your space, code‑aware ventilation under any cover, and durable, weather‑ready materials that match your climate and style. With those decisions aligned, the space doesn’t just look great on day one—it cooks comfortably, cleans easily, and holds up season after season while hosting family and friends.
When you’re ready, return to the sections above to refine your layout, ventilation, and materials, then use the checklist to brief your contractor or contact Easter Concrete Contracting for a streamlined build. This approach turns a gallery of ideas into a cook‑ready outdoor kitchen that performs beautifully for years.
FAQs
Do outdoor kitchens need a hood?
If any cover or partial enclosure exists, a purpose‑built outdoor hood sized wider than the grill and 1200+ CFM is recommended for smoke capture and protection of finishes.
How far from the house should the grill be?
Follow appliance and code guidance for clearance to combustibles and add noncombustible backers when close to walls, consult local inspectors for exact setbacks.
What size gas line is typical?
Sizing depends on appliance BTUs and run length, coordinate with a licensed plumber and plan shutoffs at accessible points during rough‑in.
What’s the minimum aisle width?
Plan ~36 inches for one cook and wider if guests or seating share the lane, increasing comfort and safety during service.